A double header this time round for you good folk, so to kick off with it looks like I'll be doing another 40k army after all with a new codex coming, no its not blood for the blood god I left him behind a long time back.
No what I'm talking about is another god of war Mars or more to the point the Mechanicom, this will be I hope the last 40K army I ever build & one that I've always wanted to do I sat on the fence over doing a HH one for a long time but the problem I've found with FW armies is get them updated, you could end up having to buy the same book again for a lot of money just to get the updated rules.
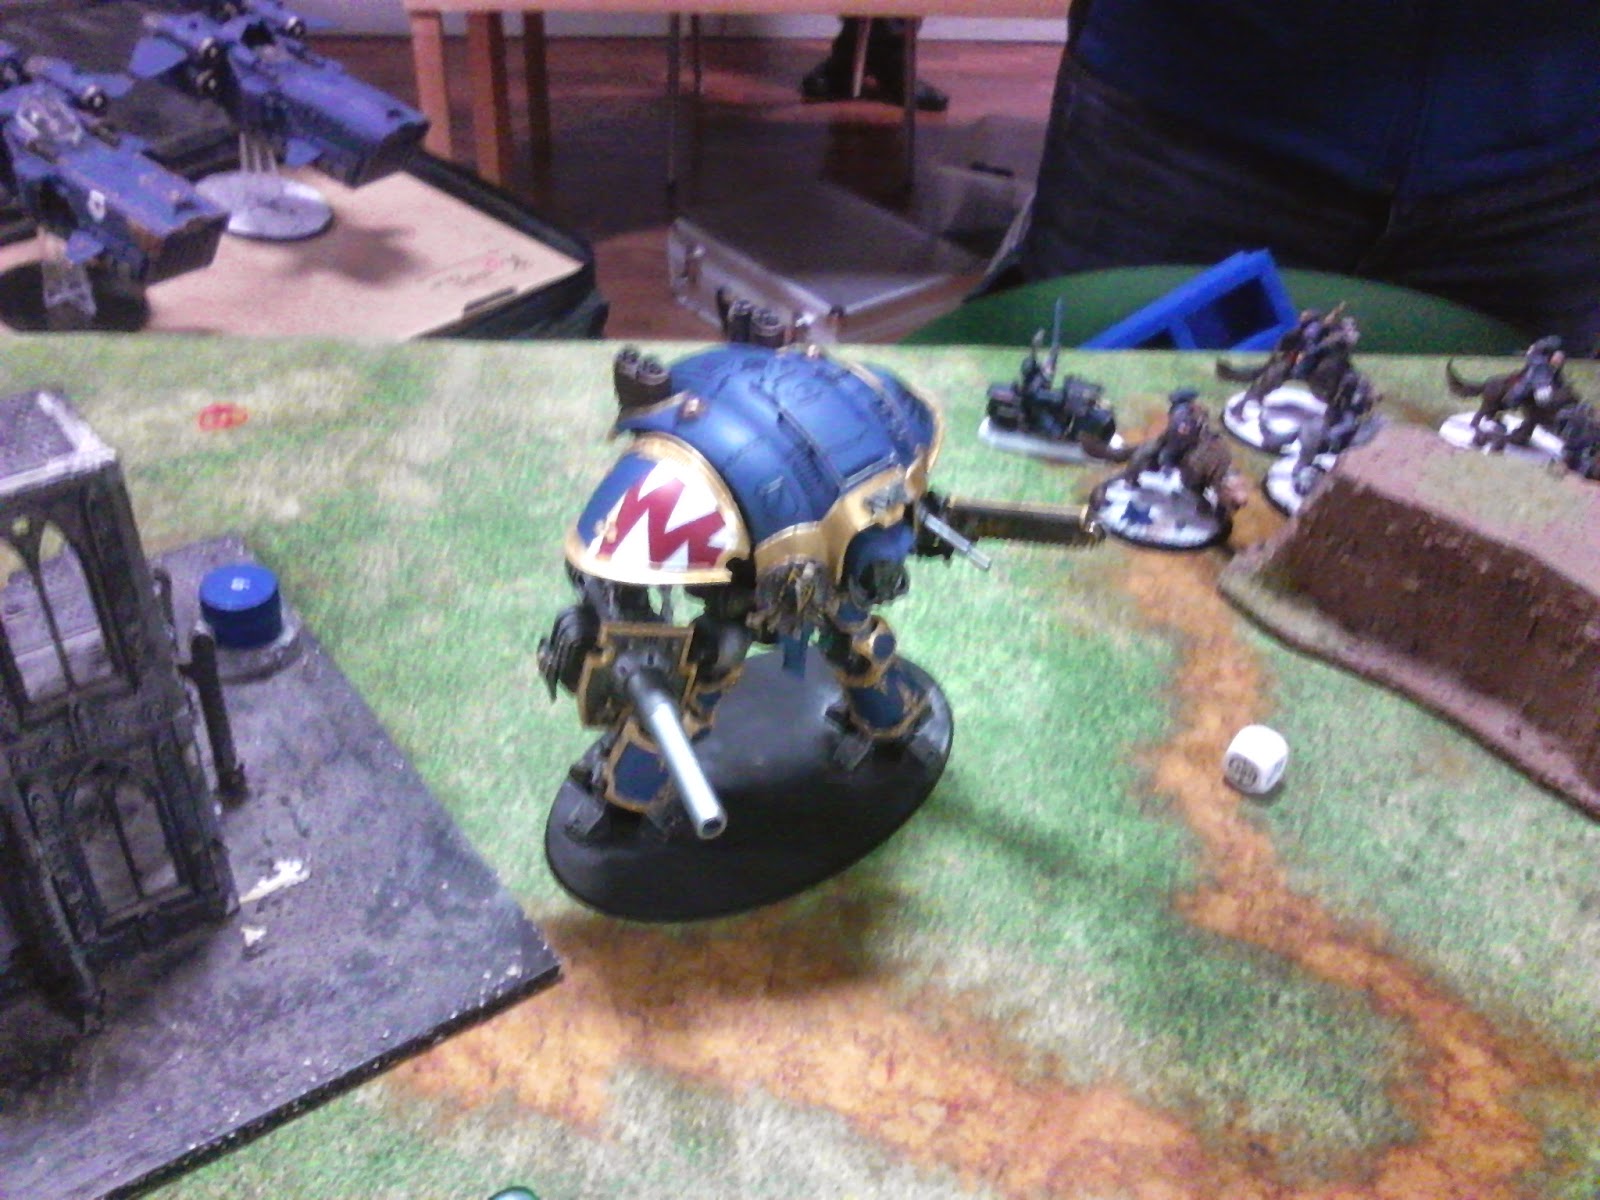
With it now looking odds on that GW are going to do something on the Mechanicum front I've just falling over the fence on the lets do it side & to celebrate I even picked up a knight last night in the shop, I don't know if there will be any knights in the dex but even if not their the perfect allies.
Ok part two of the show,something I think I might have brought up before is having to have the same model in a squad, a real problem when your running what is more or less an all metal army which the SOB's happen to be, now while there's not really a lot I can do about the sisters themselves I can with some of the other models, on this occasion a crusader.
I've two of these models & if ever a pose was boring this is up there with some of GW best, so no way was I going to have two of them standing a round like this, to start I put a cut between the shield & the arm with my razor saw.
Then I cut between the back of the shield & the leg, you need to be careful here not to cut his foot off, unfortunately the way this model is done it mean the the shield as you can see in the picture below is not complete.
You could use a different shield if you had one but this is a nicely detailed one & it would be a shame not to us it, so what I did was shorten it, as you can see there like 3 ropes or chains or somethink on the shield so I cut the shield up to the bottom of the second one.
I all so removed the hand that was still on the top of the shield, if you don't like filling it might be better to just use a different shield.
The two pictures above are your finished shield front & back, now time to remove the sword.
I clipped out the middle piece & then it was time to start filling, did I mention there's a lot of filling in this conversion ?
I left on the handle above the hand but made it thinner & round so that I could pin the new sword on,
the picture above show what he should now look like.
These a the bit's I'm going to us, a chaos familiar, for the hilt, a plasma pistol, for the hand, & a terminator arm for the sword.
The hand & the hilt are on in the picture above, while in the one below I've added the sword.
I've put these up just to show you that I don't always get it right first time, the sword was fine but when I went to put the shield on it just looked wrong, so a bit of a 180.
I put the sword in the other hand & used a different hilt, put the shield in the hand that the sword had been in which is closer to the body & bent so the shield is in a more neutral position.
Before & after & now look different enough that when painted up on on the table no one will ever think that once they where the same model, anyway that it for this post I hope you found it interesting & as always my thanks for dropping in.


No comments:
Post a Comment