Like most hobbyist I also suffer from what a friend of mine calls the hobby butterfly effect, yes a project started with much enthusiasm can often end up after a couple of days work sitting on the shelf until needs must.
Now this project tbh has not set on the shelf & has been used to great effect on many a set that you dear reader have seen here on this blog or have you seen it ? confused you most likely are :)
A long time back I did a post about creating different levels on the gaming table & while it fairly easy to build upwards it's not so handy if you want to go down.
Creating slops & dips under a gaming mat to give more of a natural look is also not that hard to pull off, but things like a river or a pit in the middle of a gaming table that's a horse of a different colour if you want it to look natural because these things need to be below your gaming table, now the pictures below are still a WIP & have only been taking back off the shelf so to speak :)
The next scenario in the perilous island campaign requires me to have a pit, which means I've got to go below ground level or to put it another way below my gaming table, so in order to go down you must first go up.
The picture above lets the cat out of the bag, what I did when I started this project was to make 12" X 12" squares with insulation board in between to vinyl tiles, some I made 1" thick & some 2" thick, which was great for creating tables like the one I used for the Soerabaja Manhunt seen above but that was not what they were made for, so I've gone back to work on them & covered 8 of then flat with grass matting you can buy in model railways shop cheap & the 9th one I made the pit in.
Giving me a 3X3 table, as I've said this is a WIP & as you can see from the picture above the glue isn't even fully dry, the plan is to make more with the likes of a river in them or what ever else I need.
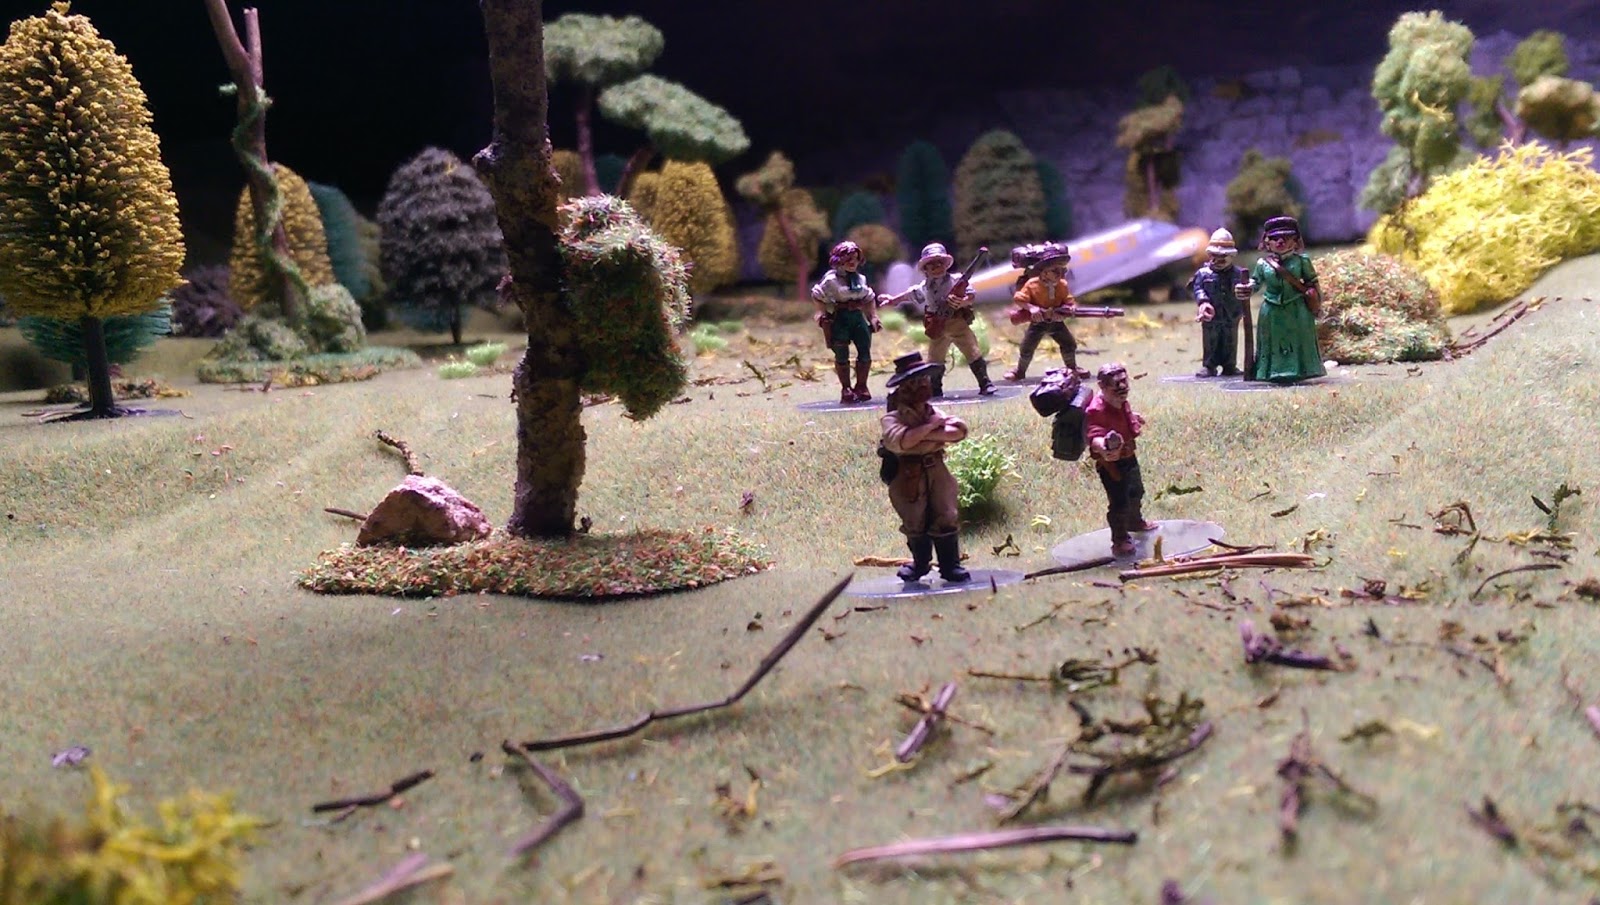
The picture below was taken before I flocked the pit but I wanted a shot of a model in it for scale reasons.
I really life terms I'd guess the pit is about 10' deep , I'm also thinking I could make something up to fit into it so as to turn it into a fiery pit, but even from a gaming point of view its an interesting thing to have as it adds a different dimension to the gaming table.
That's a rap for this post, as always my thanks for dropping in & if your care to leave a comment it would be welcomed :)


Brilliant Frank! Nice to see you go the extra step and actually create the pit as opposed to just laying down a circle on the table and designate that as "the pit". If you go fiery pit you are going to have to use some of the special effects budget to get a tea light to give it a bit more real life fire look :)
ReplyDeleteThanks Ivor, I'm not a fan of laying something on top of the table that's meant to be below it as it just doesn't look right, but I understand why people do it.
DeleteLight's would be the way to go for a fiery pit alright I'll have to talk to the special effects department, but only need a normal pit for now :)
Brilliant work on the terrain! I've seen some cases, like dungeon tiles, where they "cheat" And just go down a layer of cardboard or other thinner material and paint it dark. That can be effective enough, but your pit really looks the business, as they say.
ReplyDeleteThanks Fitz, most people do like you say as its a simple way to do it & I understand why they do so, but it wasn't for me, guess I'm getting fussy in my old age :)
DeleteHi Frank, This looks extremely effective.
ReplyDeleteI am not a big fan of tiles on a table usually because you always see the squares, but you have made a very good job of disguising the joins. Partly I suppose because the grass mat has a nap and this maybe gives a 'soft' edge to the squares so they mingle a little? Also though because you must have had a very accurate cut to match both sides of the tile.
From your description I envision two tiles with a sandwich filling of insulation foam. To get the top and bottom square so you can turn them upside down and use them must have been quite a feat.
It gives you all sorts of possibilities for scenic effects that will fit in with your style of presentation very well.
As a point you must have seen the suspended bridges made of bamboo or logs in Pets are Us or whatever they call it. Perfect for games such as yours.
Look forward to seeing how this develops scenically as well as the impact it has on future games.
Well done.
Thanks John, I know only to well what you mean about squares to make up a gaming table with the joints showing up & agree 100% mate, but gaming mates are not cheap & I'd end up needing lots of them for different settings, plus having them fit what your trying to do doesn't always work' like trying to make a pit in them :)
DeleteThe plan when I started the project was like you thought to have them double sided so two tables for the price of one kind of thing, sadly I couldn't get them accurate enough for that so I just splayed the edges to get a better fit meaning I can only use one side :(
The joints are fairly good but still noticeable but hopefully by cleaver use of terrain & the cameraman doing his job right they won't take from the movie :)
Yes I know the things your talking about & have often thought of buying one & probable will,but they fall a bit short against the likes of the rope bridge you built, so that's the route I'll be taking at some point.
I was disappointed to read that your own cameraman hadn't put any film in the camera for that PA game as the set you'd made up for it was fantastic & I look forward to seen more of your work :)
Hi Frank!
ReplyDeleteThat's really inspiring. I've been thinking about tiles-based terrrain for a long time, but so far it has stayed at the thinking stage. Making holes is certainly one of the things talking for tiles, and fox-holes and trenches are obvious good things for that. Also the possibility of making slopes.
One thing I've thought much about is board-size. 1' squares means you've got to make a lot of them, lager gets unwieldy. Maybe a mix of 1x2', 2x2 and 1x1.
Ah, well. I have to think more about it and I'll follow what you're doing. Sooner or later I just will have to go there :-)
Cheers, mate!
Thanks Joakim, yes the bigger tiles would be better & I thought of going that way using 18"X18" but I think you would have to use 9mm MDF for that which if not store correctly will warp, & more likely to happen at a bigger size.
DeleteOne of the great thing about blogging is how we can all inspire each other, & tiles like you said give you endless possibility's :)
Inspiring each other: Absolutely. I have lost count how many times i've been inspired to buy something...
DeleteBloody expensive following all these blogs :-D
That my friend is one of the best comments I've ever read LOL
Delete