
Before we get to that there was stuff to be done one of those things been my GW landing pad, now I know GW terrain doesn't fall into the CQLG bracket but as I have one I'm going to use it.
Now the one thing that always got to me about GW's pad was how are you meant to get on or off the dam thing, think about it are all the VIP's going to be opening a hatch & climbing down a ladder ? I think not.

While the pad is fine for playing 40k (as long as you don't look into the rules to much ) for the likes of INQ28 it just won;t work as it is, which meant I'd to work out away to be able to use it in both games.

Luckily for me I had a plan, when I made the pad up a while back I left off one of the double panels, so now I need to be able to take this panel on & off when I wanted.
This proved easy enough to do in the end & stilled permitted the to be move up or down when playing 40k.

So by putting a magnet in the pad & another one oi the panel & cutting a piece off the two little rounds on the inner part of the panel before gluing the panel together I can now take the panel off & put it back on as need.

The magnet in the pad would also help keep the walk way in place when I was playing a game where I just didn't want the pad on it's own.


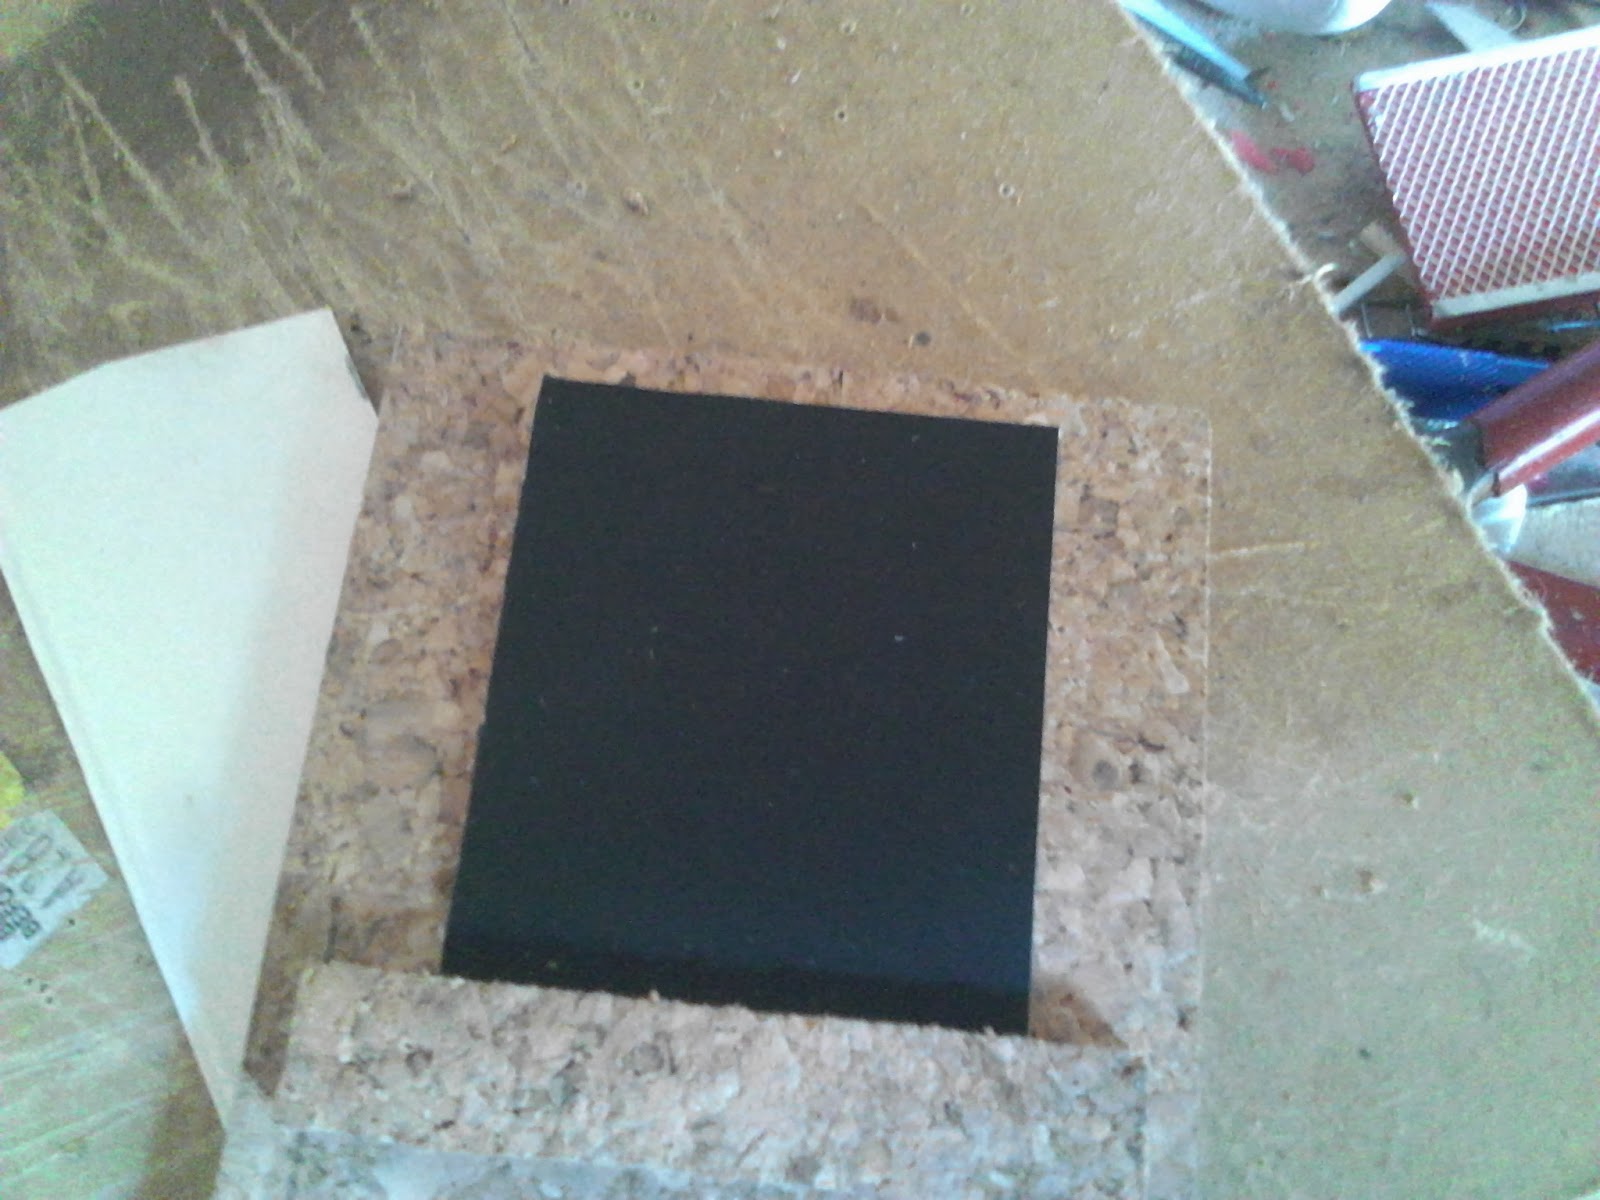
The roof I made from a whfb moving tray.

The two pieces in the picture above are also from the moving tray.


A view a cross the pad to the lift shaft & now some pictures of it all together, now as I've said this is only at the painting stage so in the pictures stuff like the wire on the fences is missing , theres no roads or scatter terrain all on which will be need to make it complete.

The 3 pieces of mdf outside the base will be woods or jungle or the likes.


Now depending on what type of game your playing you change things, a WWII game wouldn't have landing pads but you could add a run way, a game sat in nam the two smaller pads could be used for choppers.

So thanks for dropping in I hope you liked my airbase & that you found some of the things I did here helpful.
Coming together very well.
ReplyDeleteI'm loving that interior. It's a crime that more people aren't seeing this!
ReplyDeleteThanks guys I can't wait to get it painted up & then get a game on it.
ReplyDeleteWow looks great!
ReplyDeleteThanks Conor I've a lot of it painted up now & I can't wait to get a look at it when it finished.
ReplyDelete